What Are the Stages of Building a Shed from Scratch?

Building a shed from scratch can be a rewarding and fulfilling project for any DIY enthusiast. Whether you need extra storage space, a workshop, or simply enjoy working with your hands, constructing a shed can be a challenging yet satisfying endeavor. In this article, we will explore the stages involved in building a shed from scratch, from planning and preparation to the finishing touches.
**Planning and Design**
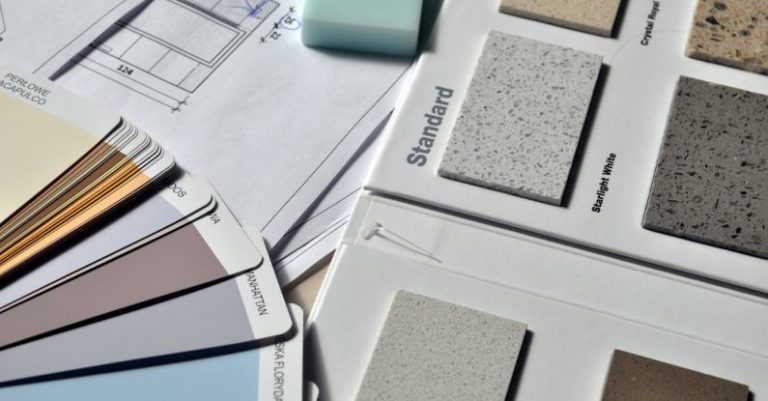
The first stage of building a shed from scratch is planning and design. Before you pick up a hammer or saw, it is essential to create a detailed plan for your shed. Consider the purpose of the shed, its size, location, and any specific features you want to include. Take into account local building codes and regulations to ensure that your shed complies with all necessary requirements. Sketch out a rough design of your shed, including dimensions and layout, to serve as a guide during construction.
**Gathering Materials and Tools**
Once you have a solid plan in place, the next stage is gathering materials and tools. Make a list of all the materials you will need for the project, such as lumber, roofing materials, nails, screws, and paint. Check that you have all the necessary tools on hand, including a saw, hammer, drill, level, and tape measure. Consider renting or purchasing any specialized tools you may need for the project.
**Site Preparation**
Before you can start building your shed, you need to prepare the site. Choose a level area in your yard where the shed will be located. Clear away any debris, rocks, or vegetation from the site. Use a shovel and level to ensure that the ground is flat and even. Consider laying a gravel or concrete foundation to provide a stable base for your shed.
**Constructing the Frame**
With the site prepared, it is time to start constructing the frame of your shed. Begin by building the base of the shed using pressure-treated lumber. Use a level to ensure that the base is square and level. Once the base is in place, frame the walls of the shed using additional lumber. Secure the walls together with nails or screws, making sure everything is sturdy and well-aligned.
**Adding Roofing and Siding**
After the frame is complete, the next stage is adding roofing and siding to your shed. Choose a durable roofing material, such as asphalt shingles or metal roofing, to protect your shed from the elements. Install the roofing according to the manufacturer’s instructions, ensuring that it is watertight and secure. Add siding to the walls of the shed, whether it be wood, vinyl, or another material of your choice, to provide additional protection and insulation.
**Finishing Touches**
Once the structure of your shed is in place, it is time to add the finishing touches. Install doors and windows to provide access and ventilation inside the shed. Add any additional features you desire, such as shelving, workbenches, or storage racks. Paint or stain the exterior of the shed to protect it from weathering and enhance its appearance. Consider landscaping around the shed to integrate it seamlessly into your yard.
**Maintaining Your Shed**
After completing the construction of your shed, it is essential to maintain it properly to ensure its longevity and functionality. Regularly inspect the shed for any signs of damage, such as leaks, rot, or pest infestations. Keep the exterior of the shed clean and free of debris to prevent deterioration. Make any necessary repairs promptly to avoid more extensive issues down the line.
**In Summary**
Building a shed from scratch is a challenging yet rewarding project that can add value and functionality to your property. By following the stages outlined in this article, from planning and design to finishing touches and maintenance, you can create a sturdy and attractive shed that meets your needs. Whether you are a seasoned DIYer or a novice builder, constructing a shed from scratch is a fulfilling endeavor that can provide years of use and enjoyment.


