How to Achieve a Professional Finish When Tiling a Bathroom?
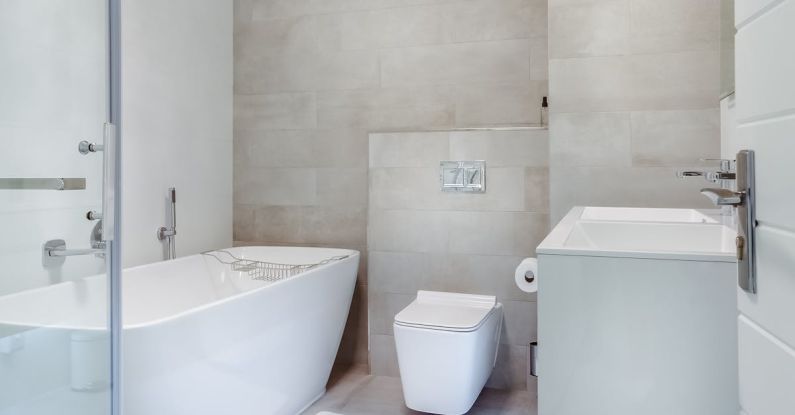
Tiling a bathroom is a great way to elevate the overall look and feel of the space. However, achieving a professional finish can seem like a daunting task for many DIY enthusiasts. With the right techniques and attention to detail, you can transform your bathroom into a stylish and sophisticated oasis. In this article, we will discuss some expert tips on how to achieve a professional finish when tiling a bathroom.
Plan and Prepare Your Workspace
Before you start tiling, it is essential to plan and prepare your workspace properly. Make sure you have all the necessary tools and materials on hand, including tiles, adhesive, grout, spacers, a tile cutter, and a trowel. Clean the surface where you will be tiling to ensure it is free of dirt, dust, and grease. Additionally, take accurate measurements to determine the layout of your tiles and ensure a symmetrical and aesthetically pleasing result.
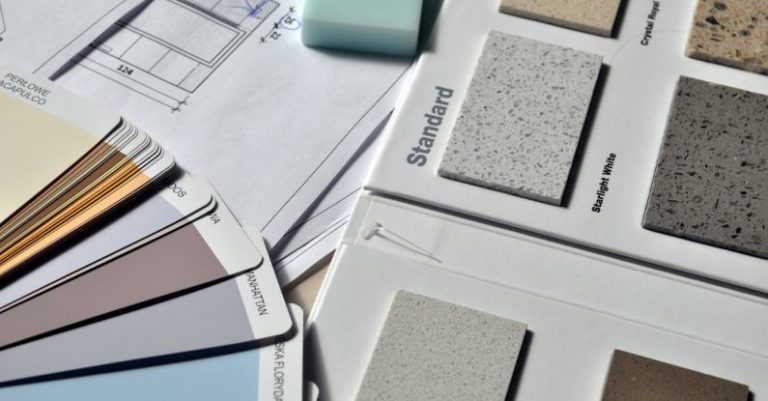
Choose the Right Tiles and Layout
Selecting the right tiles is crucial to achieving a professional finish in your bathroom. Consider the size, color, and texture of the tiles to complement the overall design of the space. Larger tiles can make a small bathroom appear more spacious, while smaller tiles can create intricate patterns and designs. Experiment with different layouts, such as herringbone or brick bond, to add visual interest to your walls or floors.
Ensure Proper Waterproofing
Waterproofing is essential in a bathroom to prevent moisture damage and mold growth. Before tiling, make sure your walls and floors are properly waterproofed using a suitable membrane or sealer. Pay special attention to areas around showers, bathtubs, and sinks where water exposure is high. Proper waterproofing will not only protect your tiles but also prolong the lifespan of your bathroom.
Mix and Apply Adhesive Correctly
Mixing adhesive according to the manufacturer’s instructions is crucial for a strong bond between the tiles and the surface. Use a trowel to spread the adhesive evenly on the substrate, ensuring full coverage. Work in small sections to prevent the adhesive from drying out before you can lay the tiles. Press the tiles firmly into place and use spacers to maintain consistent gaps between each tile for a professional finish.
Cut Tiles with Precision
Cutting tiles to fit around obstacles or edges requires precision and attention to detail. Use a tile cutter or a wet saw to make straight cuts, and a tile nipper for curved or irregular cuts. Measure twice and cut once to avoid wastage and ensure a seamless fit. Smooth the edges of the cut tiles with a tile file to remove any rough edges and achieve a professional look.
Grout with Care
Grouting is the final step in tiling a bathroom and can make a significant impact on the overall finish. Choose a grout color that complements your tiles and enhances the design of the space. Mix the grout to a smooth consistency and apply it with a rubber float, pressing it into the gaps between the tiles. Remove excess grout with a damp sponge before it dries to prevent haze on the tiles. Allow the grout to cure for the recommended time before sealing it to protect against stains and moisture.
Maintain Your Tiled Bathroom
Once you have completed tiling your bathroom, proper maintenance is essential to preserve the professional finish. Clean your tiles regularly with a mild detergent and water to remove dirt and grime. Avoid using harsh chemicals or abrasive cleaners that can damage the grout and tiles. Periodically reseal the grout to prevent water penetration and maintain its appearance over time.
In conclusion, achieving a professional finish when tiling a bathroom requires careful planning, attention to detail, and the right techniques. By following the tips outlined in this article, you can create a stunning and stylish bathroom that reflects your unique style and personality. Remember to take your time, be patient, and enjoy the process of transforming your space into a beautiful oasis.